विवरण
So, just how easy is it?
- Install and activate the Plugin.
- Add your jQuery code to the ‘Custom jQuery Code’ text box in Plugin settings.
- Add the corresponding HTML markup to a post, page, or or text widget,
- That’s it!!
You can easily tweak further settings such as the jQuery UI theme used to render the jQuery widgets, choose which scripts are added to your site, and overriding default CSS.
All standard pre-defined jQuery themes are supported, or you can upload your own custom theme built with the jQuery ThemeRoller. See the FAQ page for detailed instructions on uploading your own custom theme.
No need to mess about with cryptic shortcodes! Just enter clean, valid, HTML markup and the Plugin does the rest, adding all the necessary jQuery scripts and styles for you!
Note: This Plugin uses the Google CDN to load the CSS for the official jQuery UI themes.
Please rate this Plugin if you find it useful. It only takes a moment but it’s very much appreciated. 🙂
We’re proud to announce that jQuery UI Widgets Pro is now available!
Upgrade today for great features such as syntax highlighted code editors and dozens of pre-made jQuery UI templates ready to use!
Also, you can now add jQuery UI (and custom JavaScript and CSS code) to specific pages for the first time via the page/post editor. Take complete control over which pages have jQuery UI scripts added. You can choose to add to ALL pages or ONLY to the ones you want. It’s so simple!
Checkout the screenshots, or click here for more details.
See our WordPress plugin site for more top plugins!
स्क्रीनशॉट्स
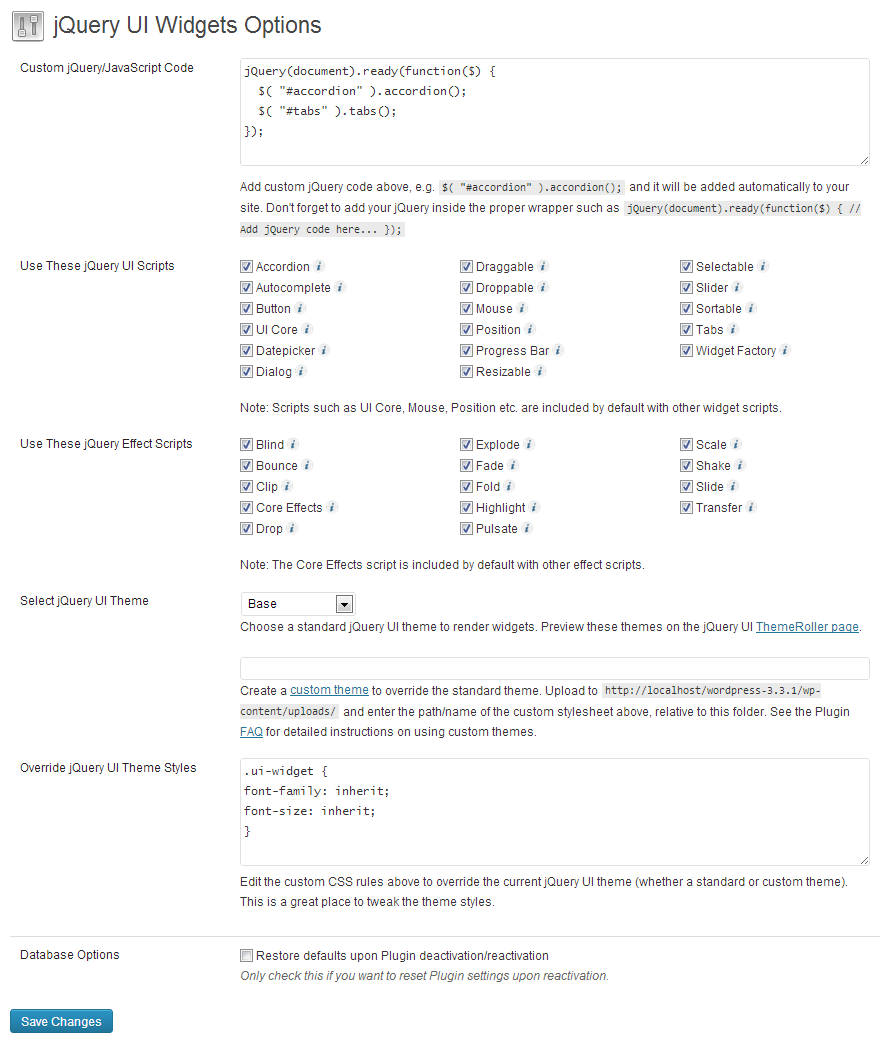
Plugin settings. 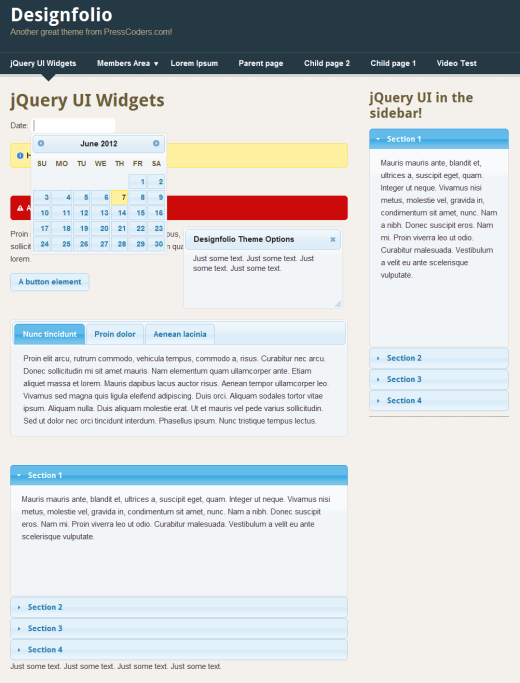
jQuery UI theme example. 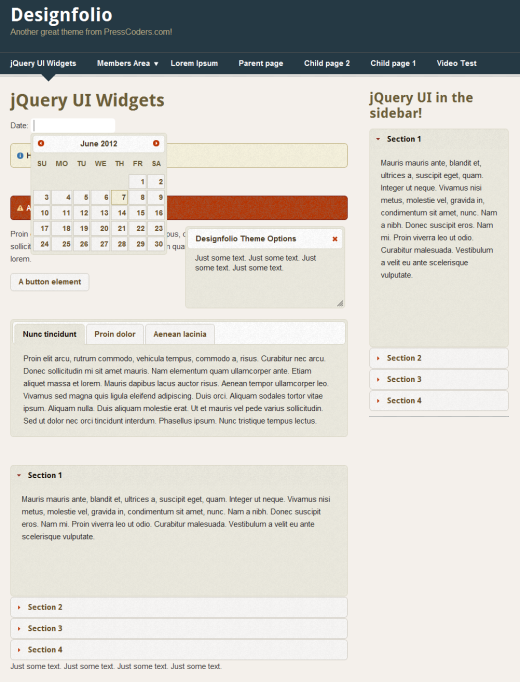
jQuery UI theme example. 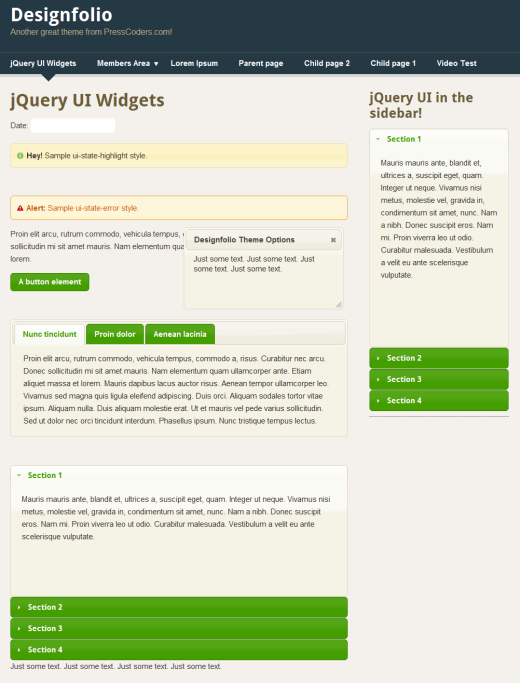
jQuery UI theme example. 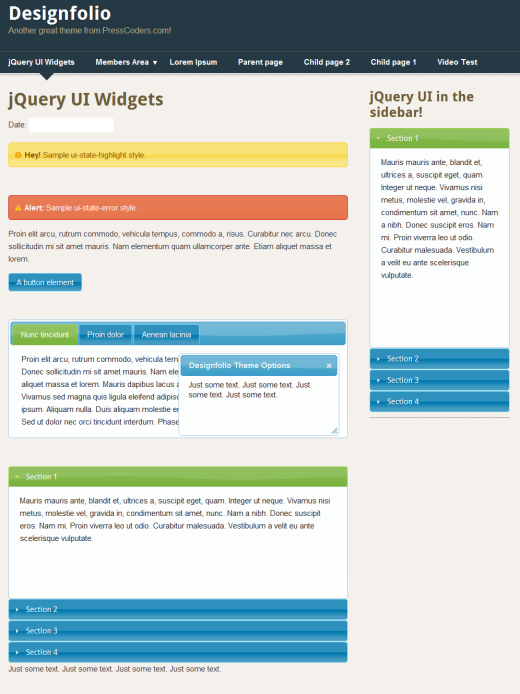
jQuery UI theme example. 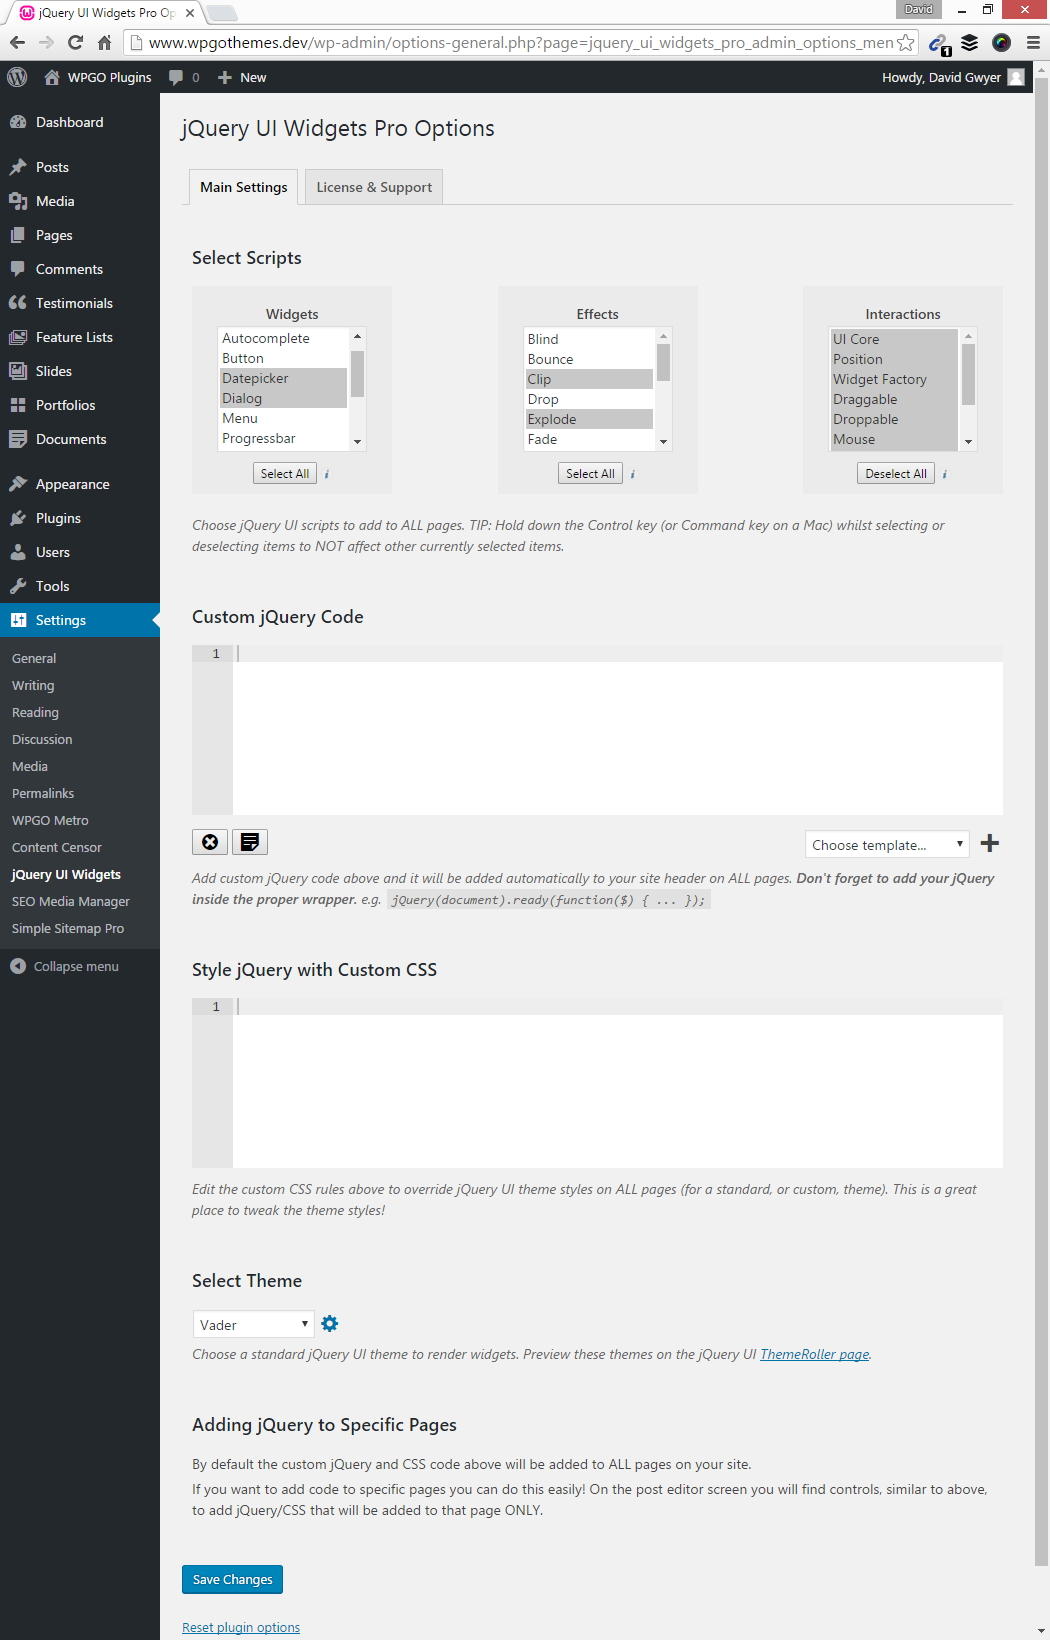
Totally revamped plugin options page. (Pro only) 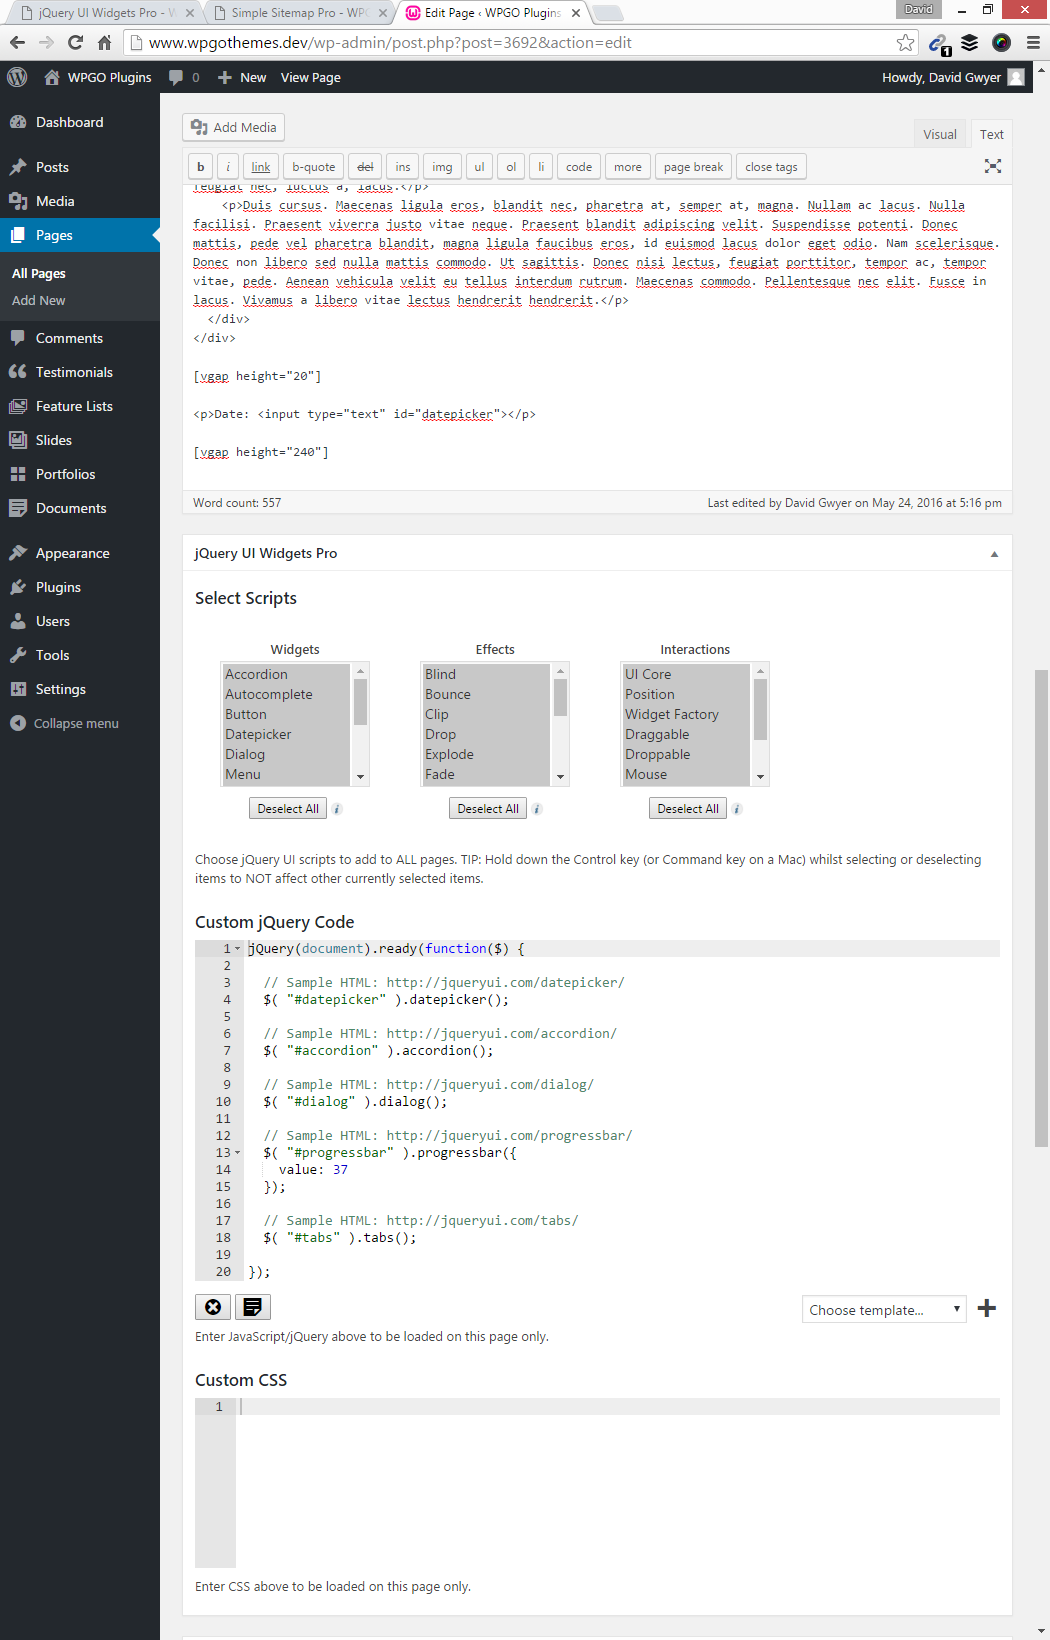
Add scripts on specific pages via a fully featured meta box on the page/post editor. (Pro only) 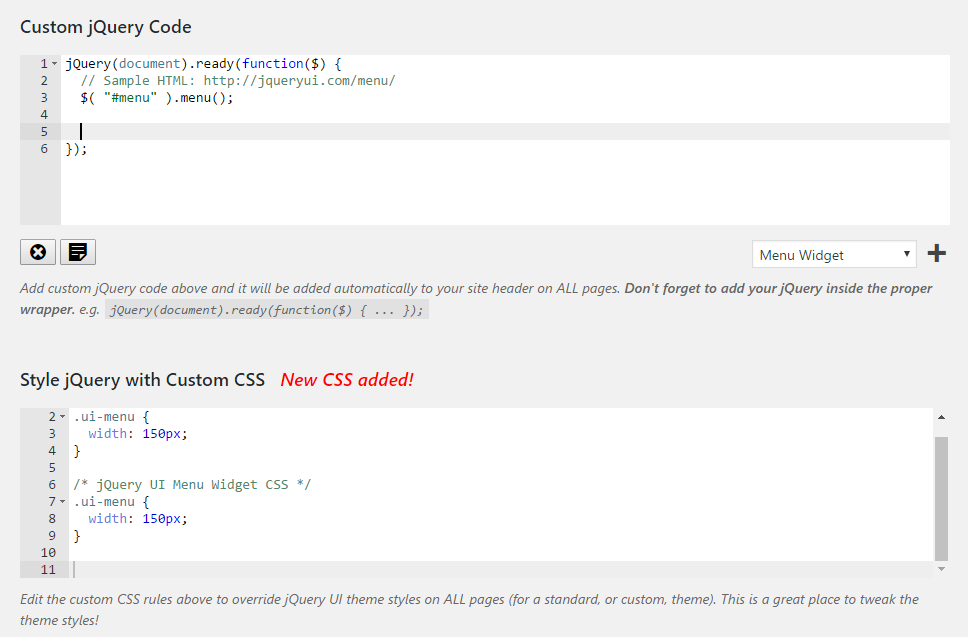
Beautiful syntax highlighted JavaScript and CSS editors to help customize output. (Pro only) 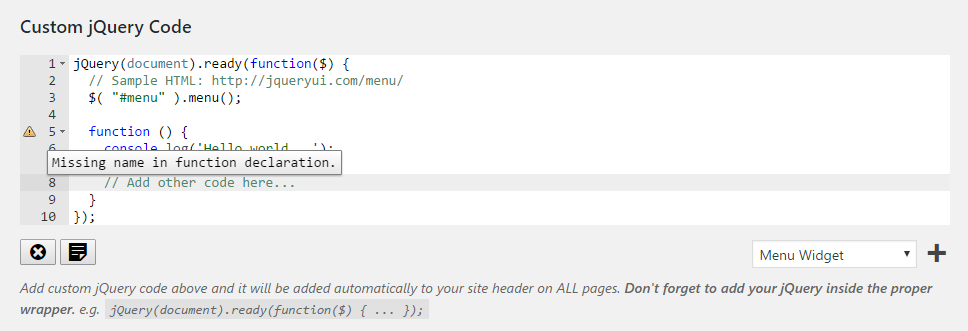
JavaScript editor even includes a built-in debugger! (Pro only) 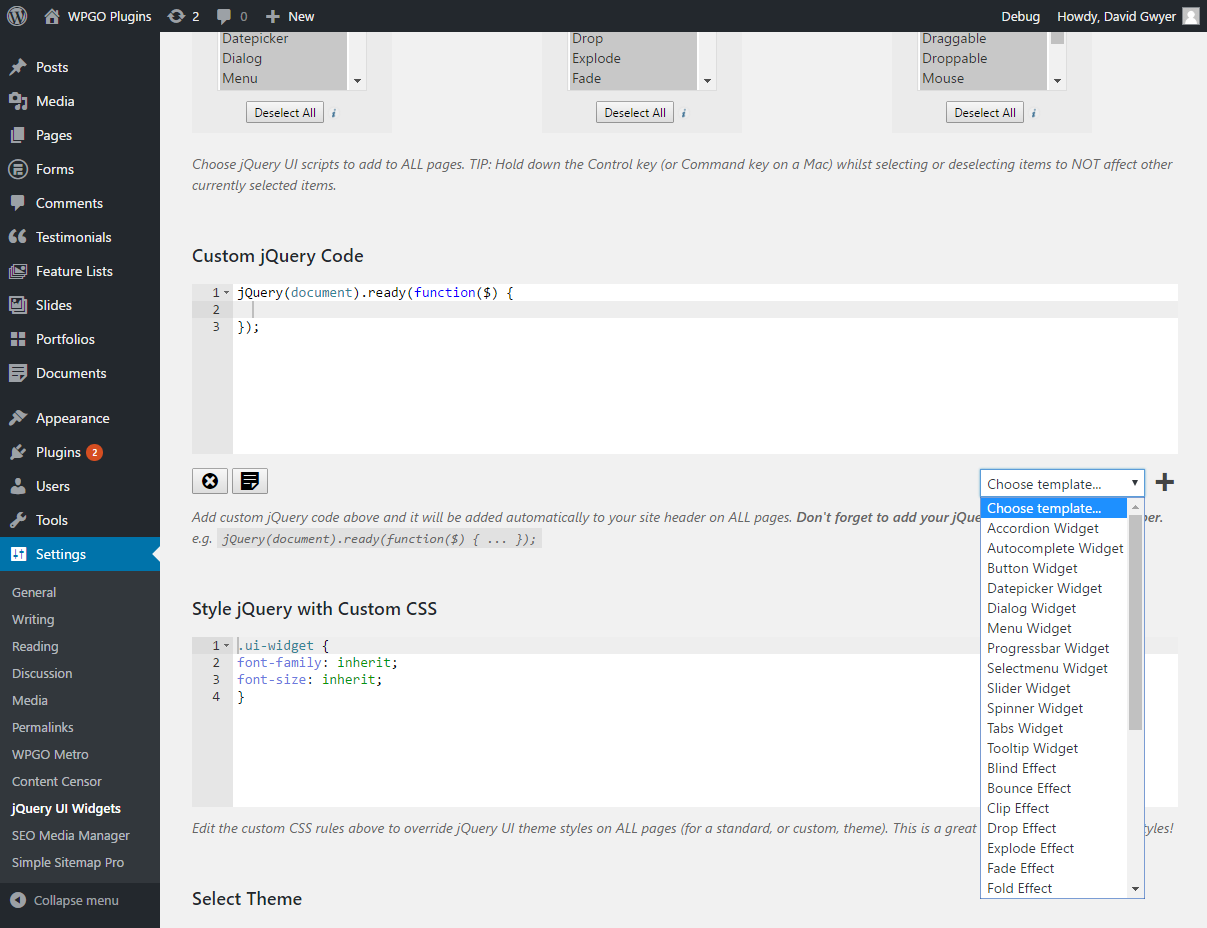
Choose from dozens of pre-made jQuery UI templates. (Pro only) 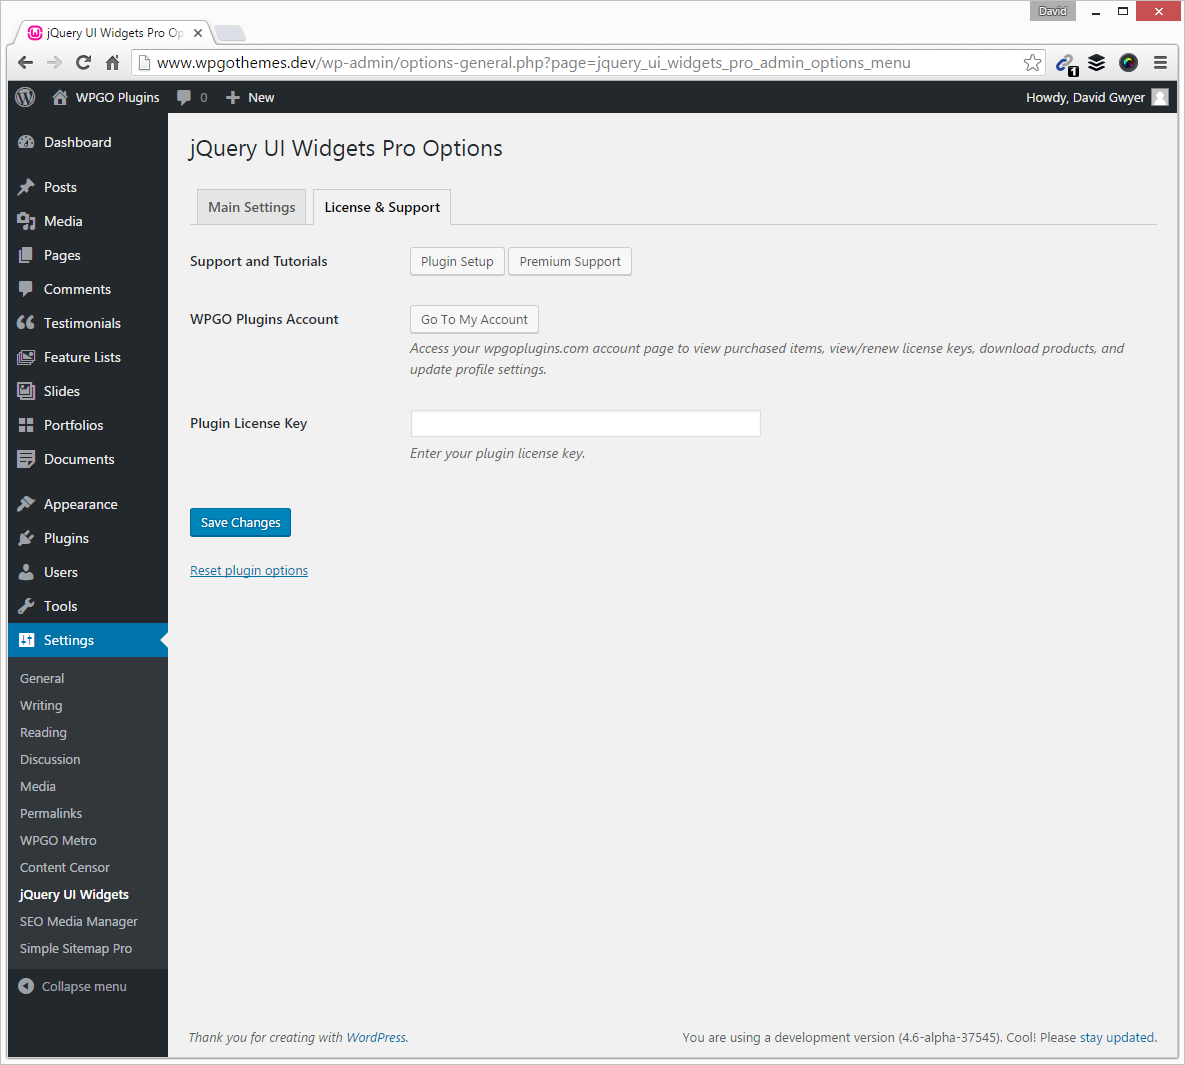
Add license key to receive automatic plugin updates. (Pro only)
इंस्टॉलेशन
Instructions for installing:
- In your WordPress admin go to Plugins -> Add New.
- Enter jQuery UI Widgets in the text box and click Search Plugins.
- In the list of Plugins click Install Now next to the jQuery UI Widgets Plugin.
- Once installed click to activate.
- Visit the Plugin options page via Settings -> jQuery UI Widgets.
Usage:
- Go to Plugin settings and add your jQuery UI code. e.g. $( “.tabs” ).tabs().
- Select the check boxes for the jQuery UI scripts you want to be available on your site pages (they are all selected by default when the Plugin is first activated).
- Select the theme that you want to use to render the jQuery UI elements.
- Quite often, depending on the WordPress theme you are using (and the specific jQuery selectors), you may run in minor issues with the CSS rendering. To help with this, there is a text box that you can enter custom style rules to tweak the jQuery theme styles, so they match your theme perfectly.to match your WordPress theme.
- To upload a custom jQuery theme created with the ThemeRoller, see the FAQ for specific details.
सामान्य प्रश्न
- Installation Instructions
-
Instructions for installing:
- In your WordPress admin go to Plugins -> Add New.
- Enter jQuery UI Widgets in the text box and click Search Plugins.
- In the list of Plugins click Install Now next to the jQuery UI Widgets Plugin.
- Once installed click to activate.
- Visit the Plugin options page via Settings -> jQuery UI Widgets.
Usage:
- Go to Plugin settings and add your jQuery UI code. e.g. $( “.tabs” ).tabs().
- Select the check boxes for the jQuery UI scripts you want to be available on your site pages (they are all selected by default when the Plugin is first activated).
- Select the theme that you want to use to render the jQuery UI elements.
- Quite often, depending on the WordPress theme you are using (and the specific jQuery selectors), you may run in minor issues with the CSS rendering. To help with this, there is a text box that you can enter custom style rules to tweak the jQuery theme styles, so they match your theme perfectly.to match your WordPress theme.
- To upload a custom jQuery theme created with the ThemeRoller, see the FAQ for specific details.
- I am not really sure what HTML code I need to add for each jQuery UI widget. Can you give me some examples?
-
There are plenty of examples for each jQuery widget on the official demo and documentation pages which include example code you can analyse and use on your own pages.
- How do you upload a custom theme using the official jQuery ThemeRoller?
-
The Plugin supports themes created with the jQuery interactive ThemeRoller which means you can very easily create a custom jQuery theme to match your WordPress theme perfectly.
- Create your custom theme using the ThemeRoller online tool. When you have finished your masterpiece, click the ‘Download theme’ button.
- On the ‘Build Your Download’ page make sure ALL check boxes are selected (this is important).
- Click the ‘Advanced Theme Settings’ button on the right hand side of the page and a couple of text boxes will come into view. Add a name for your custom theme in the ‘Theme Folder Name’ text box. Make sure that any words are separated by a dashes NOT spaces.
- Finally, before downloading your custom theme, make sure the version radio button selected is 1.9.xx.
- Now, you can click ‘Download’ to download your custom theme to your computer. It will be saved as a zip file.
- Locate your downloaded custom theme and extract the zip file.
- Open up the extracted custom theme folder, and you’ll see three folders: ‘css’, ‘development-bundle’, and ‘js’. The one we are interested in is ‘css’.
- Open the ‘css’ folder and inside will be a single folder containing your theme, which has the name you specified above. Inside this folder will be an images folder and a single stylesheet. Make a note of the stylesheet name, you will need it later on.
- You need to now upload this custom theme folder to your site, so the Plugin can read the custom styles.
- If you take a look at the Plugin settings page you will see the folder name that you should upload to. Usually this will be something like http://www.mysite.com/wp-content/uploads/. If you are running a WordPress multisite this will be something different. Using FTP upload your custom jQuery theme to this folder.
- Finally, you just need to paste in the name of your custom theme stylesheet in Plugin settings, in the textbox provided.
- So, if your custom theme folder is named ‘mytheme’ and your custom stylesheet is called ‘jquery-ui-1.9.2.custom.css’ then you would need to paste in something like ‘mytheme/jquery-ui-1.9.2.custom.css’ into the textbox.
- If you wanted to try out multiple custom themes I would recommend adding a ‘jquery-ui-themes’ folder (or whatever name you wanted) and uploading all of your custom themes to this folder.
- The path to your stylesheet would then become ‘jquery-ui-themes/mytheme/jquery-ui-1.9.2.custom.css’.
- If for whatever the reason the Plugin cannot find your stylesheet file it will display a warning message on the Plugin settings page.
- I have an issue with how the jQuery UI widgets are rendering with my WordPress theme. Can you help fix it?
-
This isn’t a Plugin issue. Any problems with how the jQuery CSS interacts with your current WordPress theme will need to be fixed by using tools such as Firebug, or by contacting the theme author to help tweak the CSS. I’m afraid I can’t help with CSS queries for specific themes.
- The custom jQuery UI init code I added doesn’t seem to be working. What could the problem be?
-
Again, this isn’t a Plugin issue. If you are using custom init code for some jQuery widgets and it isn’t working then please use Firebug to detect the issue. I would also recommend posting on the jQuery forums if you are stuck.
समीक्षाएं
सहायक &डेवलपर्स
Translate “jQuery UI Widgets” into your language.
Interested in development?
Browse the code, check out the SVN repository, or subscribe to the development log by RSS.
बदलाव विवरण
0.60
- Plugin settings page updated.
0.50
- Added support for the Selectmenu jQuery UI widget.
0.43
- Fixed broken image links on plugin settings page.
0.42
- Plugin settings page updated.
0.38
- Updated plugins settings links.
0.37
- Fixed some description errors.
0.36
- Information about the NEW jQuery UI Widgets Pro plugin added.
- UI Updated.
- Screenshots updated.
0.35
- Plugin is now translatable!
- In the ‘Custom jQuery Code’ plugin options section the example jQuery wrapper code is now added as placeholder text rather than as a description underneath.
- Updated jQuery UI CSS to v1.11.2.
0.34
- Settings page updated.
0.33
- Patched a security issue.
0.32
- Addressed a security issue.
0.31
- Updated link to be protocol agnostic.
0.3
- Now fully compatible with WordPress 3.6.
- Minor updates to the Plugin options page.
- The ‘Base’ theme doesn’t exist anymore so the the new default set to ‘Smoothness’.
- Updated the path to the new jQuery UI default (1.10.3).
0.22
- Small bug fix.
0.21
- Updated Plugin readme.txt.
0.2
- Plugin UI in general changed around a bit and updated to make it easier and more intuitive.
- No default jQuery UI code is added to your site anymore unless added specifically by you. This makes the Plugin simpler to use and more intuitive.
- The Plugin admin text boxes will dynamically vary in height depending on the content, to make it easier to view your added code, but is capped at a maximum height. The text boxes will also shrink again when you remove content.
- Support added for entire jQuery UI stack included with WordPress 3.5 (including jQuery UI Effects).
0.1
- Initial release.